In this article, we are going to learn the basics of using Mapbox as a tool for integrating maps in React Native. While Google Maps is probably the most famous mapping system, there are various other worthy contenders in the market. What makes Mapbox one of the most prominent players in the field is the fact that it is a location data platform that powers maps and location services used in many popular apps making it one of the best alternatives for Google Maps. In this tutorial, we are going delve step-by-step into creating custom markers, annotations, polylines and polygons using Mapbox.
Let’s Get Started
In order to use Mapbox, make sure to sign up for an account here. Click on the “Start mapping for free” button which will navigate you to the sign-up page. But if you already have an account, you can alternatively login with your username or email.
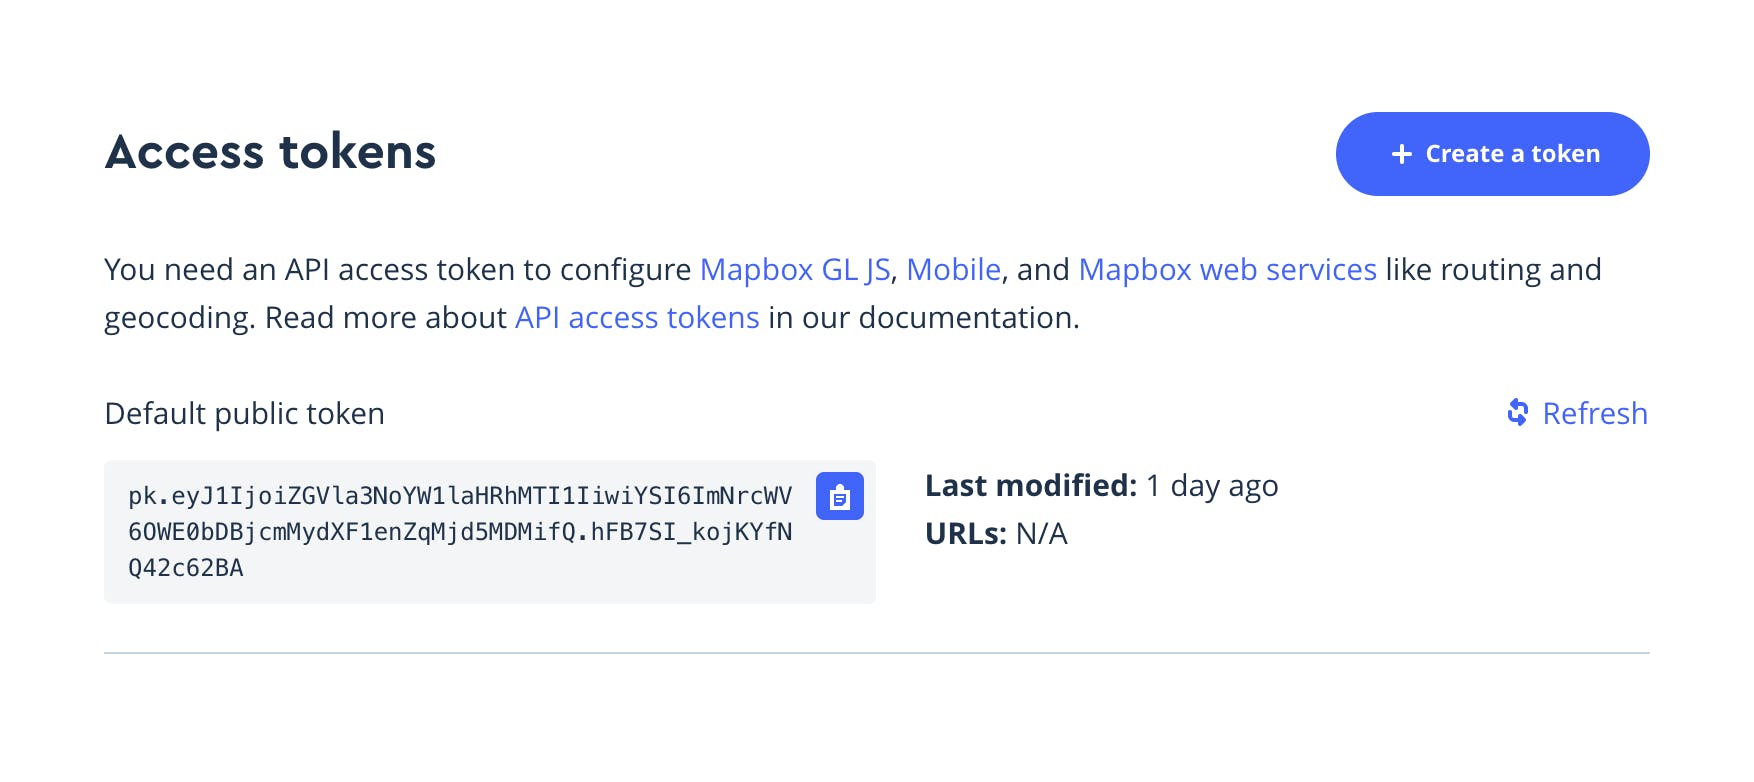
After signing in, you can see the access token in the dashboard screen which you will need to go ahead. Refer to the picture below:
The next step is to go forward is to create a React Native project using the steps given here.
Adding Mapbox Maps SDK for React Native
Note: For more information, refer to the guide here.
Adding MapView, Camera and Point Annotation
Adding Custom Annotations
You can also add custom annotations in Mapbox which you can use to represent data of points, such as restaurants in a city, bus stops along a route, or earthquake locations. Let’s create a function to show our annotation point:
Next, we have to call this function in the MapView component as shown below:
Adding Custom Marker
Adding Polylines
Polylines are lines that connects two or more points on a map. The map provided by Mapbox doesn’t have a Polyline component by default; but, we can leverage other components to gives us the same result that we derive from the polyline results on Google Maps. To add a polyline on the map, we would be using the ShapeSource and LineLayer components which are provided by Mapbox.
ShapeSource is a map content source that supplies vector shapes which can be shown on the map. The shape may be a URL or a GeoJSON object.
LineLayer is used to configure the visual appearance of polyline.
To start off, define the route in which you want to add the polyline, whose route should conditionally be a GeoJSON object. I am using useState to store the route in this instance. Refer to the code given below to go ahead.
Adding Polygons
A polygon is a geospatial feature defined by connected pairs of latitude and longitude coordinates that form an area with at least three sides. You can represent the data of a polygon by using a fill layer or a fill extrusion layer. A FillLayer defines a filled polygon with an optional stroked border. Start off by defining the route in which you want to have polygon and use the code given below:
Following is a pictorial representation of what implementing Mapbox on your iOS and Android application would look like respectively:
Wrapping Up
Yeah, that’s a wrap! Thank you so much for reading, I hope this article has broadened your horizon about Mapbox and its various components while prompting you to give it a shot. You can find the consolidated code in my GitHub repo:
This content was originally published here.